To export character animation, the first thing that we need is a 3d animated model by bones or biped. For this sample we will use the 3d model from the Isis Temple Sample.
This is the model:

We need to keep in mind that the first animation frame should be the ReferenceFrame, that is, the pose in which you skinned the model. Starting from the first frame, we will create all animations for the character:
Animation Name (Initial Frame - Final Frame)
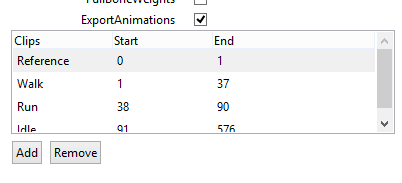
Reference 000 - 000
Walk 001 – 037
Run 038 – 090
Idle 091 – 576
Exporting the model in .FBX format
First we need to set the timeline animation bar to frame 0 [ReferenceFrame] (Note.This is important for the model to be loaded). And we have to select all bones and meshes.

We should set the timeline animation bar to frame 0 and select all
Now we need to use the new installed plugin to export the model, 3DStudio -> Export -> Export Selected and select “Autodesk (*.FBX)”.

Select the plugin to export
After selecting the target directory and file name, we will see a new panel with exporting options. It is important that the Animation and the Bake Animation checkboxs are checked (Keep in mind that the first will be the ReferenceFrame).

After that we can press OK to export the file isis.FBX”.
Include the animated model to a project using Asset Exporter.
The first thing we need is to create a copy of the model FBX file, one will be used to load the geometry and the other one will be used to load animations. Therefore, now we should have two equal files with the names isis.FBX and the other one isis_animation.FBX.

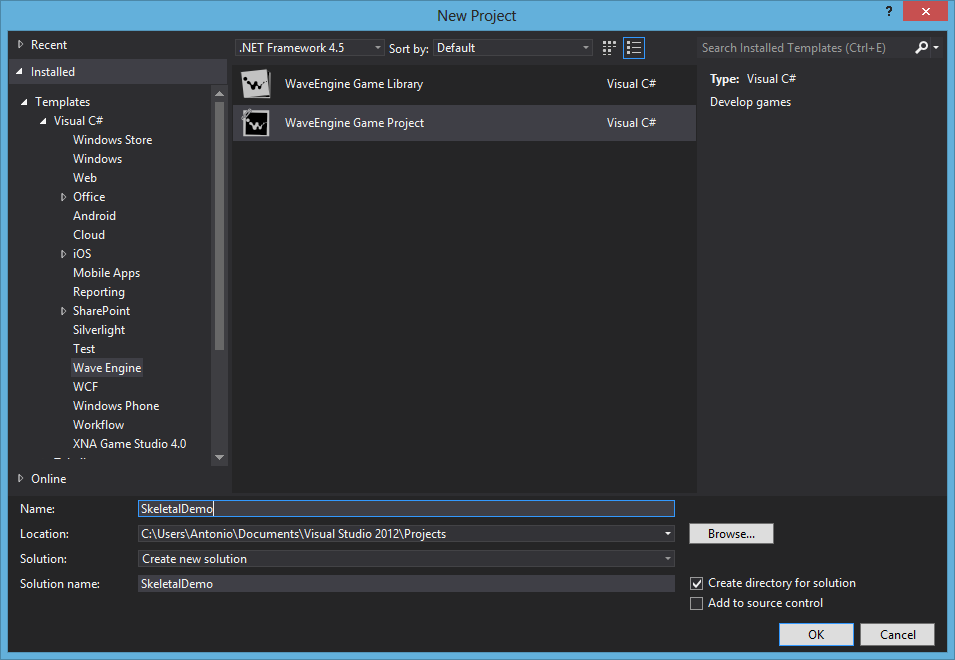
Let's create now a new Wave Engine project, and call it SkeletalDemo.
Now, we should open the AssetExporter (Tool installed with WaveEngine) by clicking the Resource.weproj file of the project. Then we will add both fbx files clicking in the Add button.

Select the file isis.fbx and check the SwapWindingOrder, GenerateTangentSpace and FullBoneWeights properties, in the right panel.

Now we select the isis_animation.FBX file and check the ExportAnimations property. This will deploy a table with the animations we want to use in the model.

Check the property ExportAnimations
That animatio table has 3 columns per animation: the Clip name, the start frame and the end frame.
If you remember, right in the beginning of this tutorial we set the different animations of the model, so we just have to fill that table.
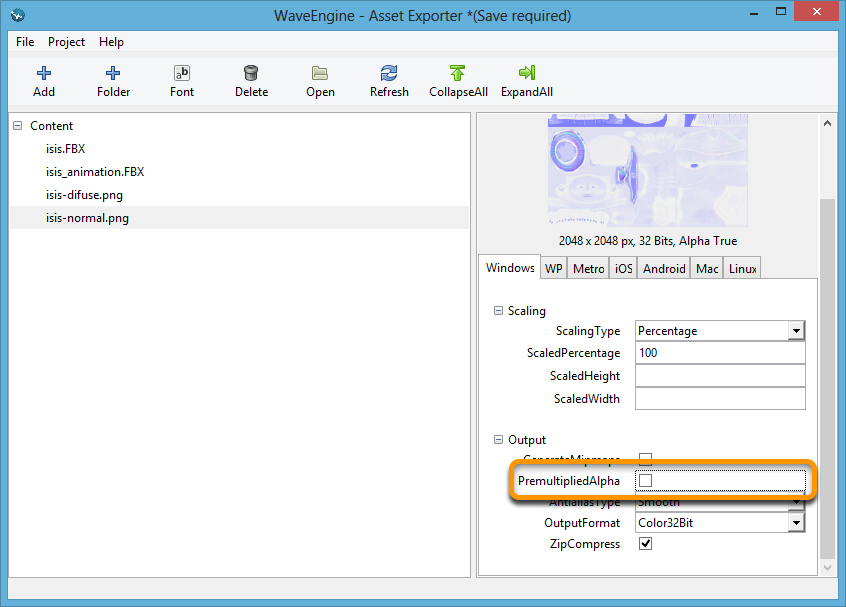
The last thing we need to do in the Asset Exporter is to add the two textures we will use for the model (isis_diffuse.png and isis_normal.png)
IMPORTANT: Remove the PremultipliedAlpha checkbox into the isis_normal.png texture properties. As the texture has the specular map into the alpha channel, checking it provoke artifacts into the normal map.
After this we go to File -> Save Project (or press the shortcut Ctrl + S) and we will save the changes.
Load the animated model in WaveEngine
In the final step we can paste to MyScene.cs this code to load and animate the isis model (at the end of the CreateScene() method):
camera.BackgroundColor = Color.CornflowerBlue;
EntityManager.Add(camera);
PointLight light = new PointLight("light", new Vector3(3, 3, 3))
{
Attenuation = 75,
Color = new Color(1, 0.6f, 0.4f),
IsVisible = true
};
EntityManager.Add(light);
Entity isis = new Entity("isis")
.AddComponent(new Transform3D())
.AddComponent(new SkinnedModel("Content/isis"))
.AddComponent(new Animation3D("Content/isis_animation"))
.AddComponent(new SkinnedModelRenderer())
.AddComponent(new MaterialsMap(new NormalMappingMaterial("Content/isis-difuse", "Content/isis-normal")));
EntityManager.Add(isis);
Animation3D anim = isis.FindComponent<Animation3D>();
anim.PlayAnimation("Run", true);
In this code we are first creating a Camera, then we create a PointLight, and at last we create the animated model (isis), with normal mapping.
If we run the solution we wil see our isis running like this:


I can find .fbx in Github. But where can I download .max file referenced in this sample just to walk through all the steps ?