1. The Assumption
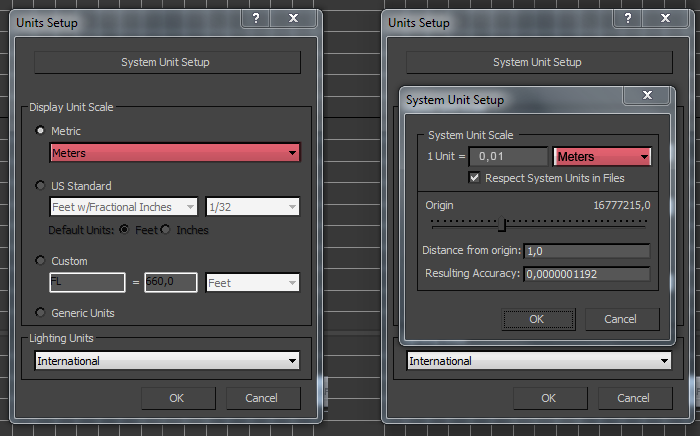
First of all the Art Director get the task from the Art Lead, The whole unit will be discussed. Solutions will be gathered for several problems that could happen. We even check the 3DS Max settings. We discuss the pivot point position. We even try to find out if the unit fits into the standard damage circles etc...
Animations
Where have to be the most edge loops. Will we use constraints?
Performance
Do we need polys at the bottom of the unit? Can we leave it open. Where can we save polys.
Maps
Now we're discussing the maps. Where we need some specials. How should the unit feel. Is there a special glow silhouette.
2. The Low Poly Mesh
The mesh will be created in 3DS Max. Planes were created where the top, the front and side view of the unit will be viewed.
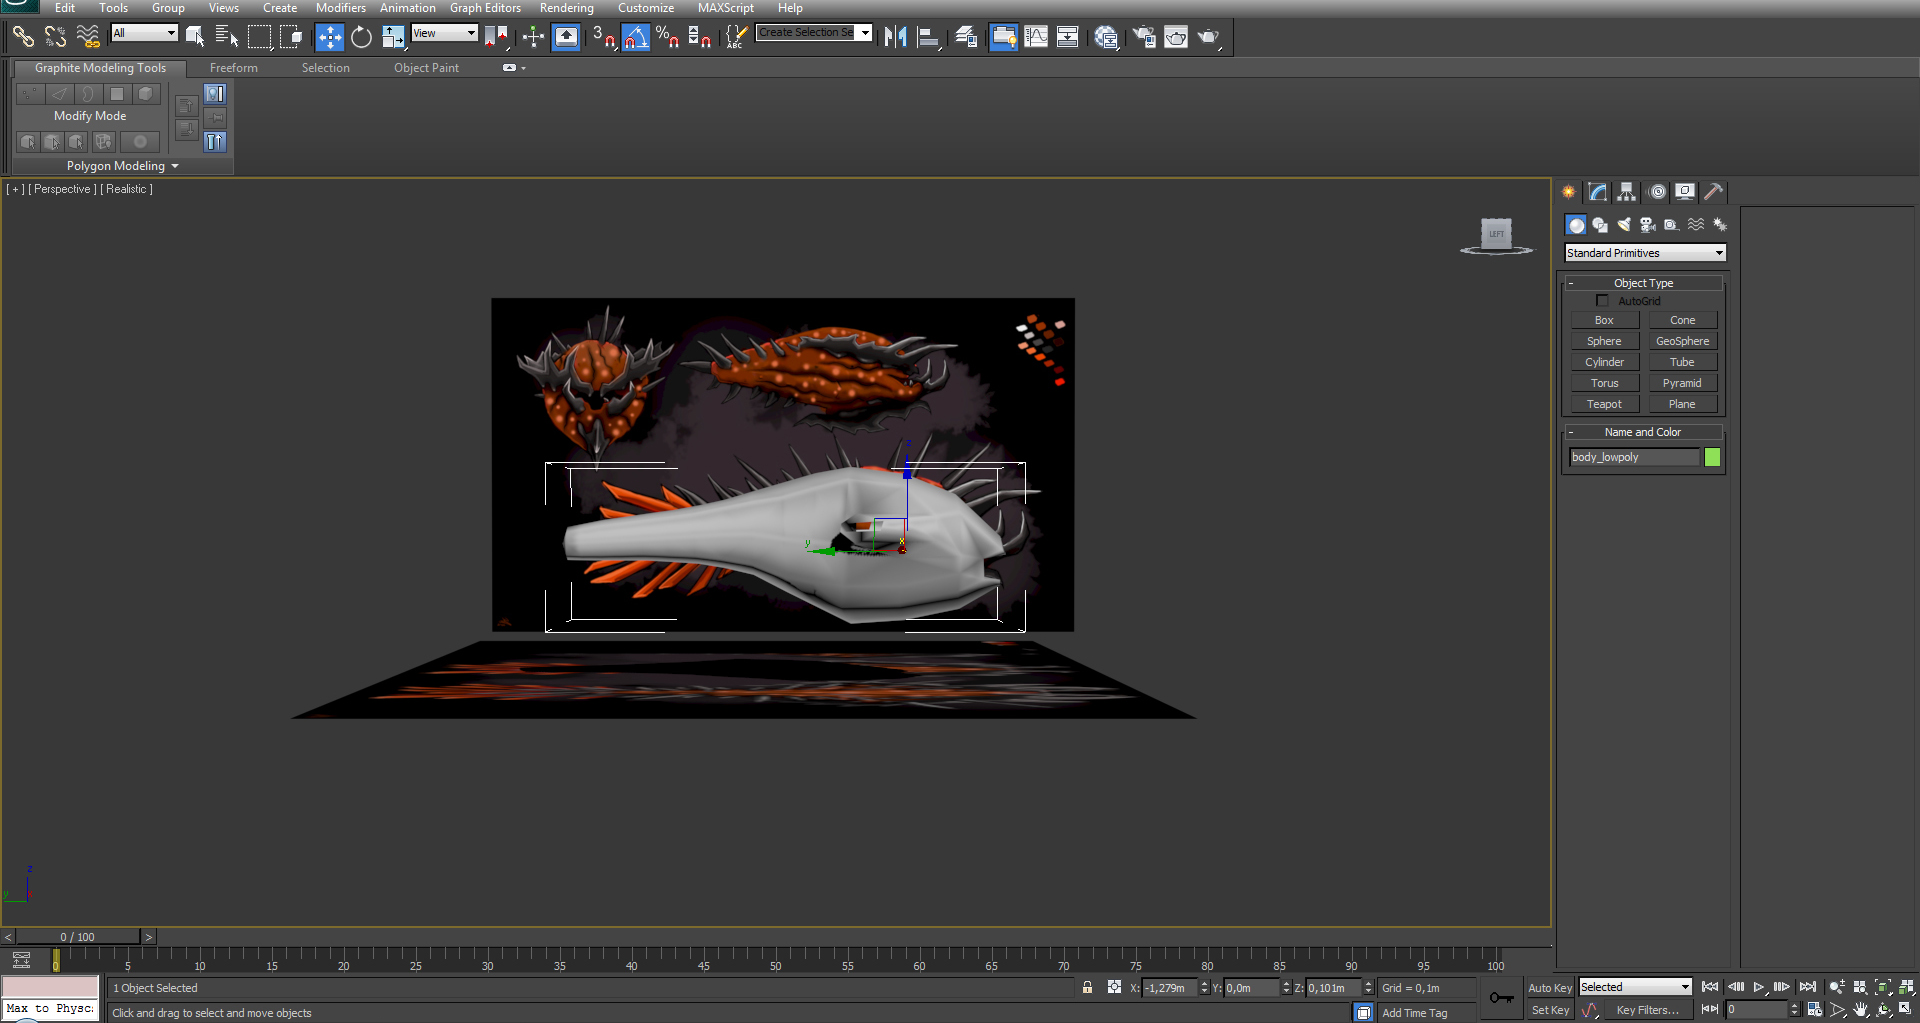
Firstly a low low poly mesh will be created to get the right proportions.
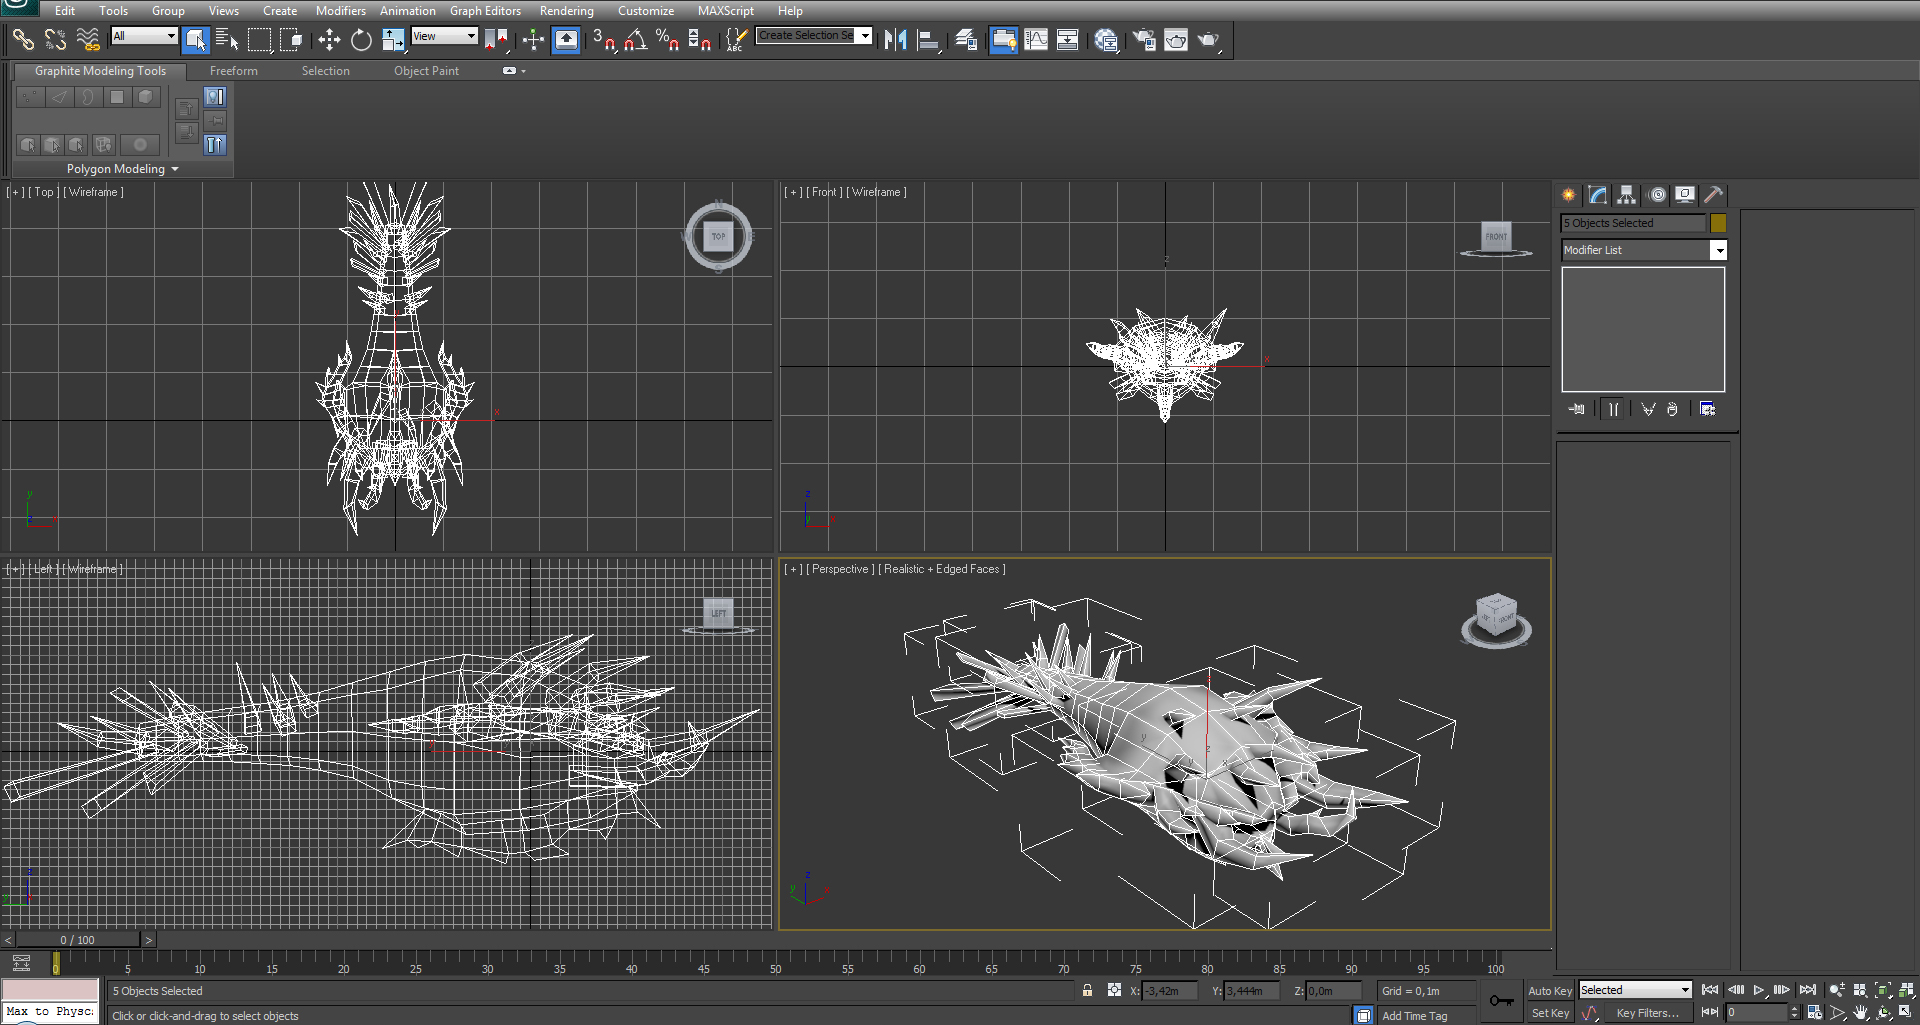
 Than we got from step to step into a more detailed version. We extremely look out for the poly count. The hard limit is 1000 polys for a unit. The soft limit is 800 polys. At this step we even look out for flimsy stuff. Unity isn't able to display meshes with extreme fine areas.
In Submerge we got a standard strategy perspective. There is no way to show players small fine spikes while the unit is moving. The pixels diffluence. The areas is getting cloudy and is flickering. You get not enough pixels for this area to display in relation to other objects. To prevent this we got a guideline for the minimum size of those spikes.
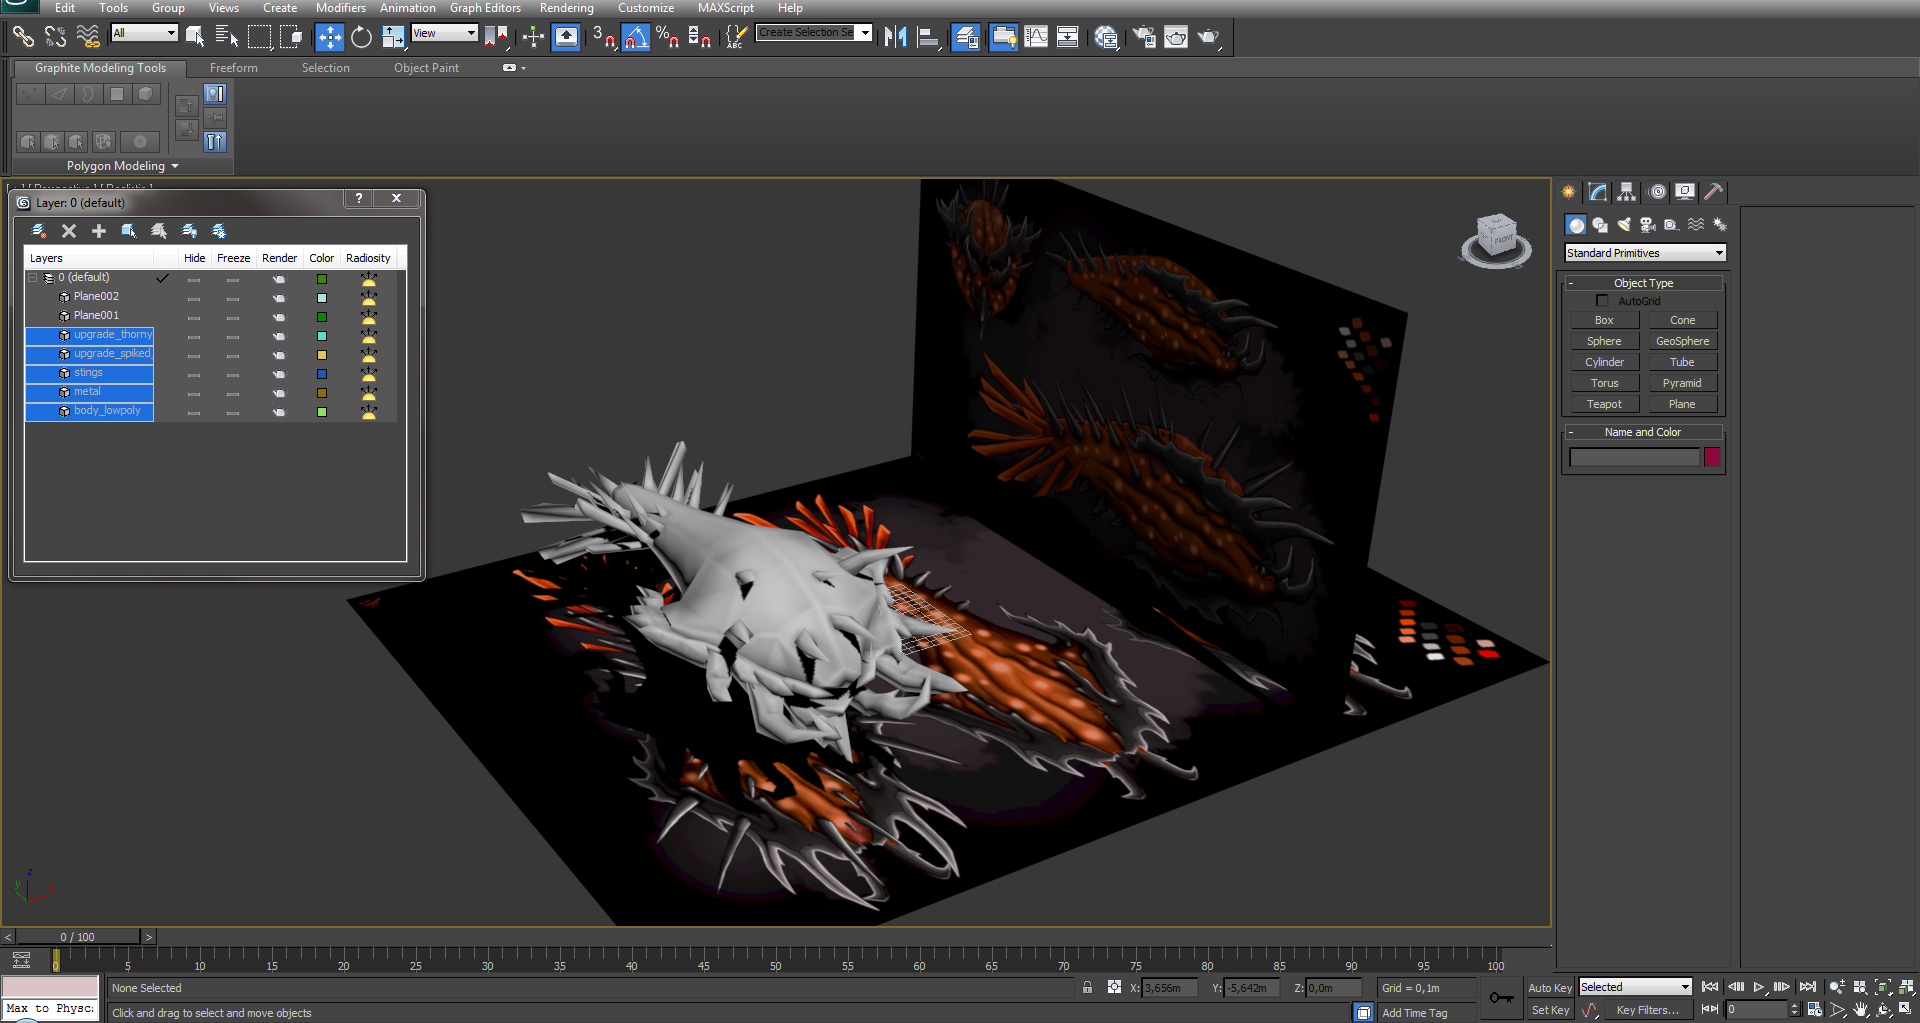
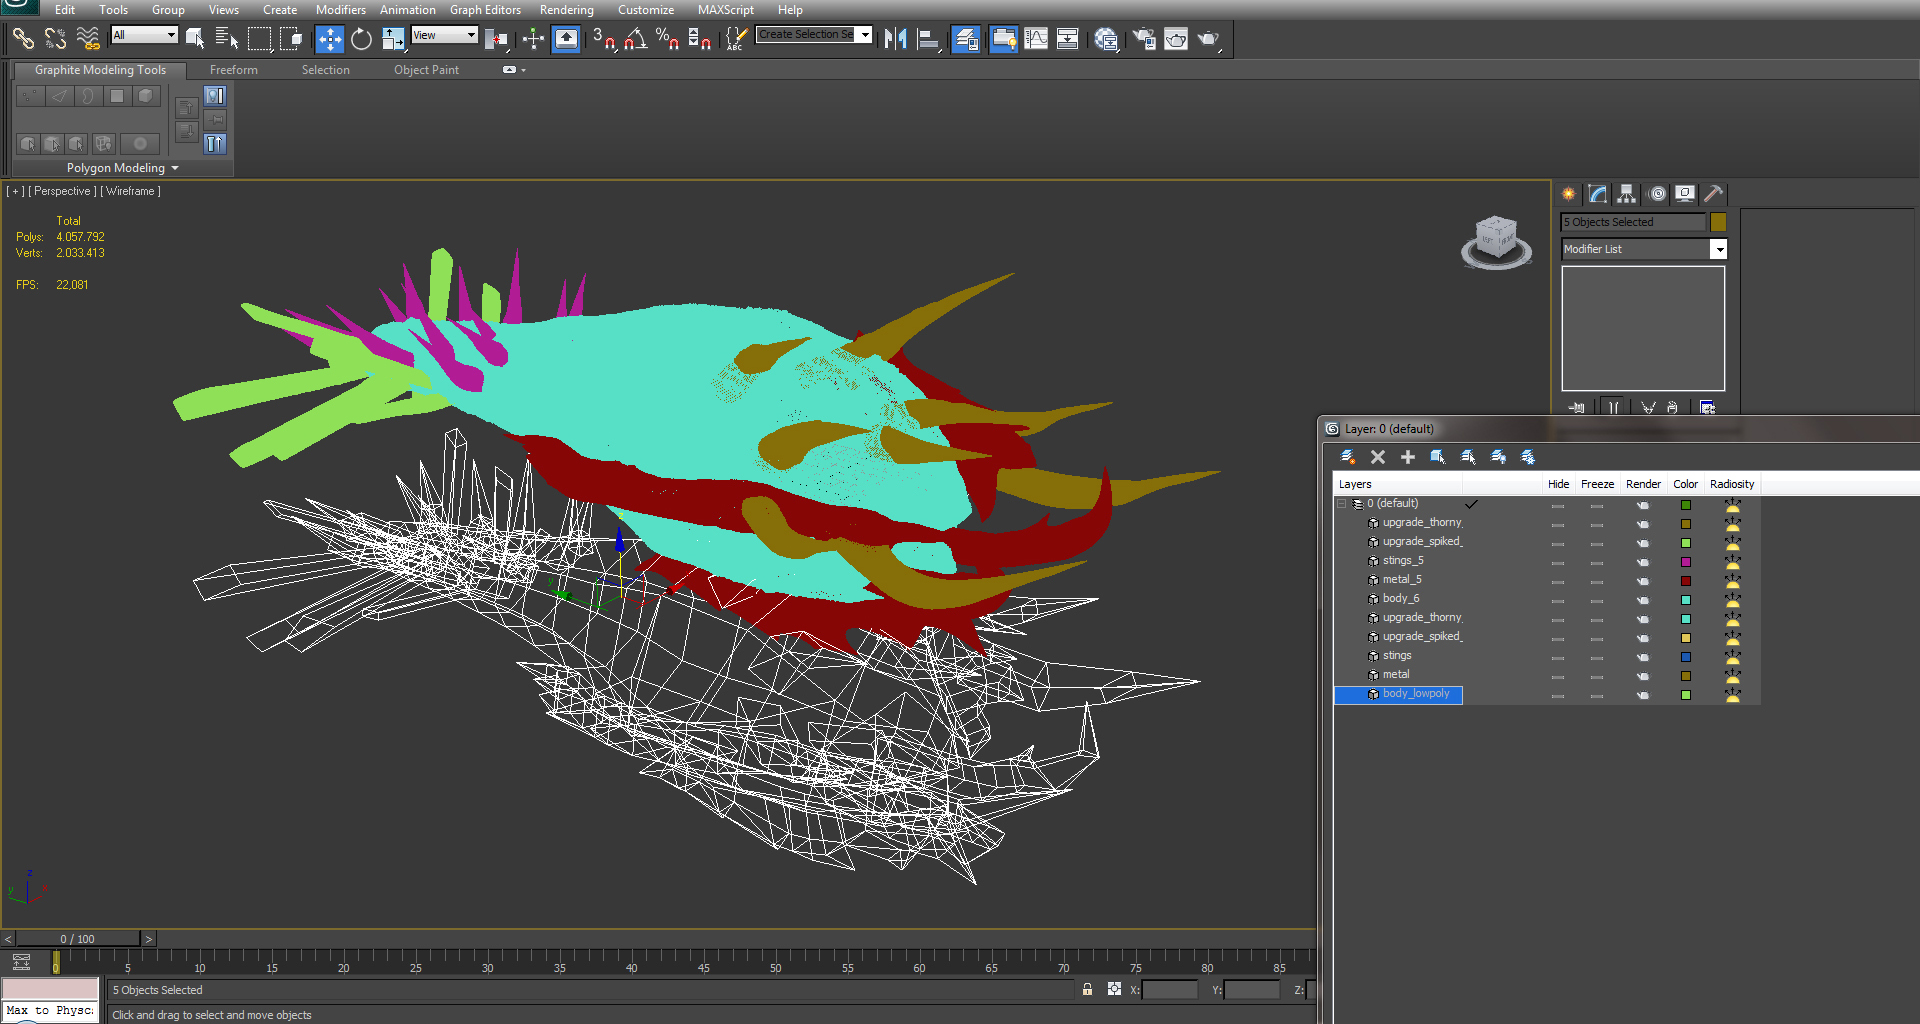
Updates of the units which the player can achieve ingame are created as extra meshes. The technical department needs this method to work with them. We especially pay attention to the transitions between the base mesh and the updates. This transitions will be finally fixed with the maps. We will explain this in the next step of our series.
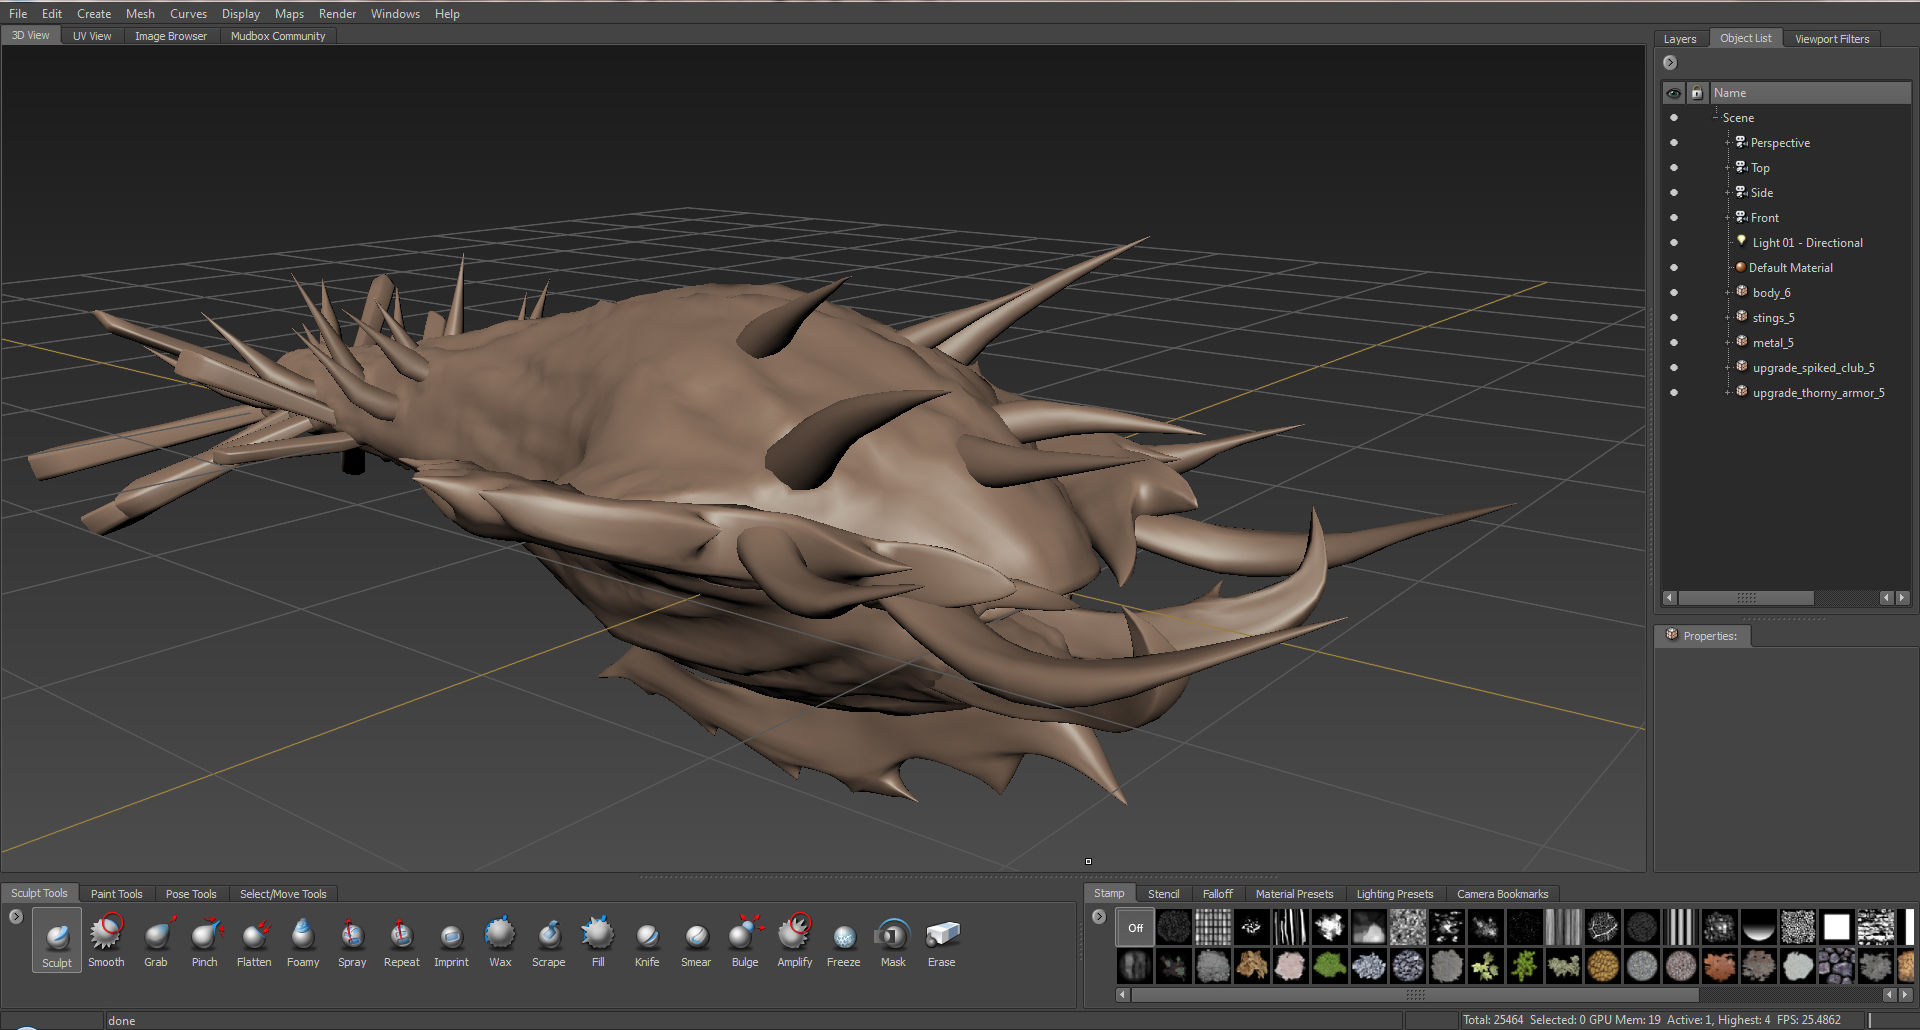
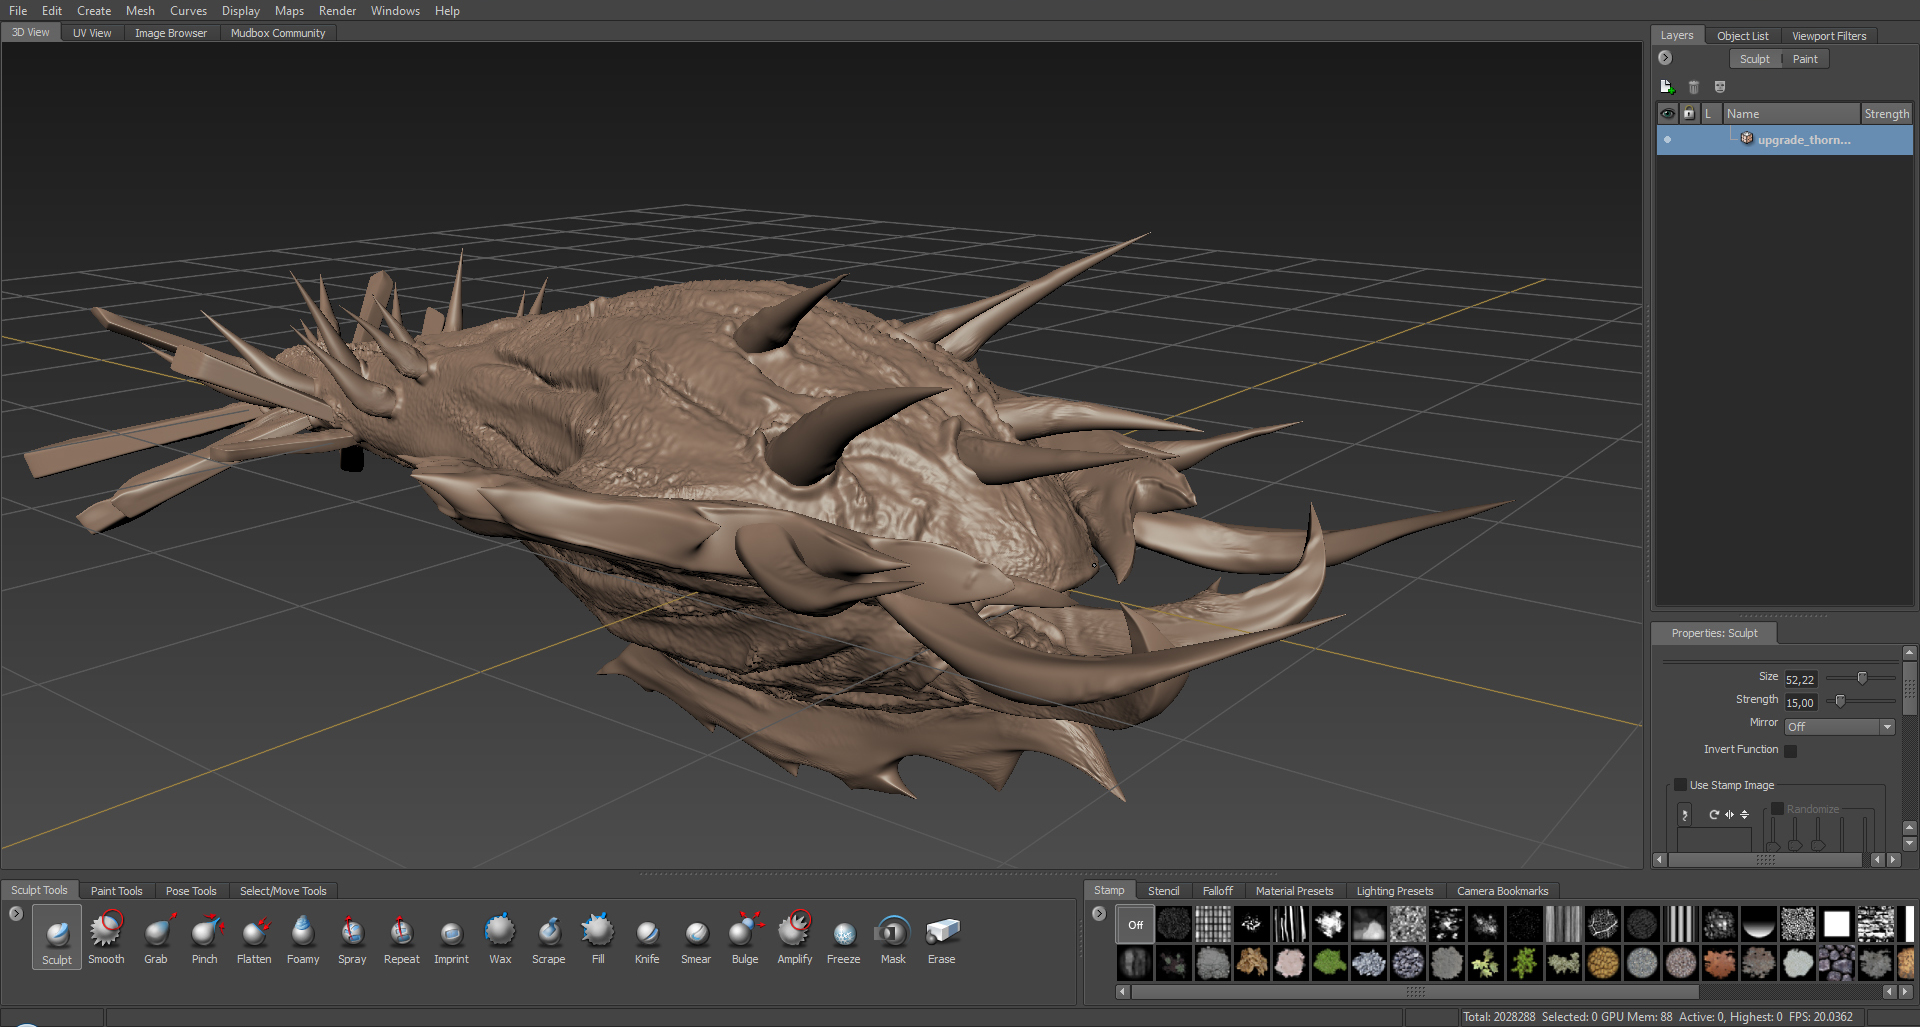
3. The High Poly Mesh
The high level of detail will be created in Mudbox. We subdivide until a max count of 20 million polys if necessary.
After that we load the high poly into max. We add it on top of the low poly and adjust huge differences.
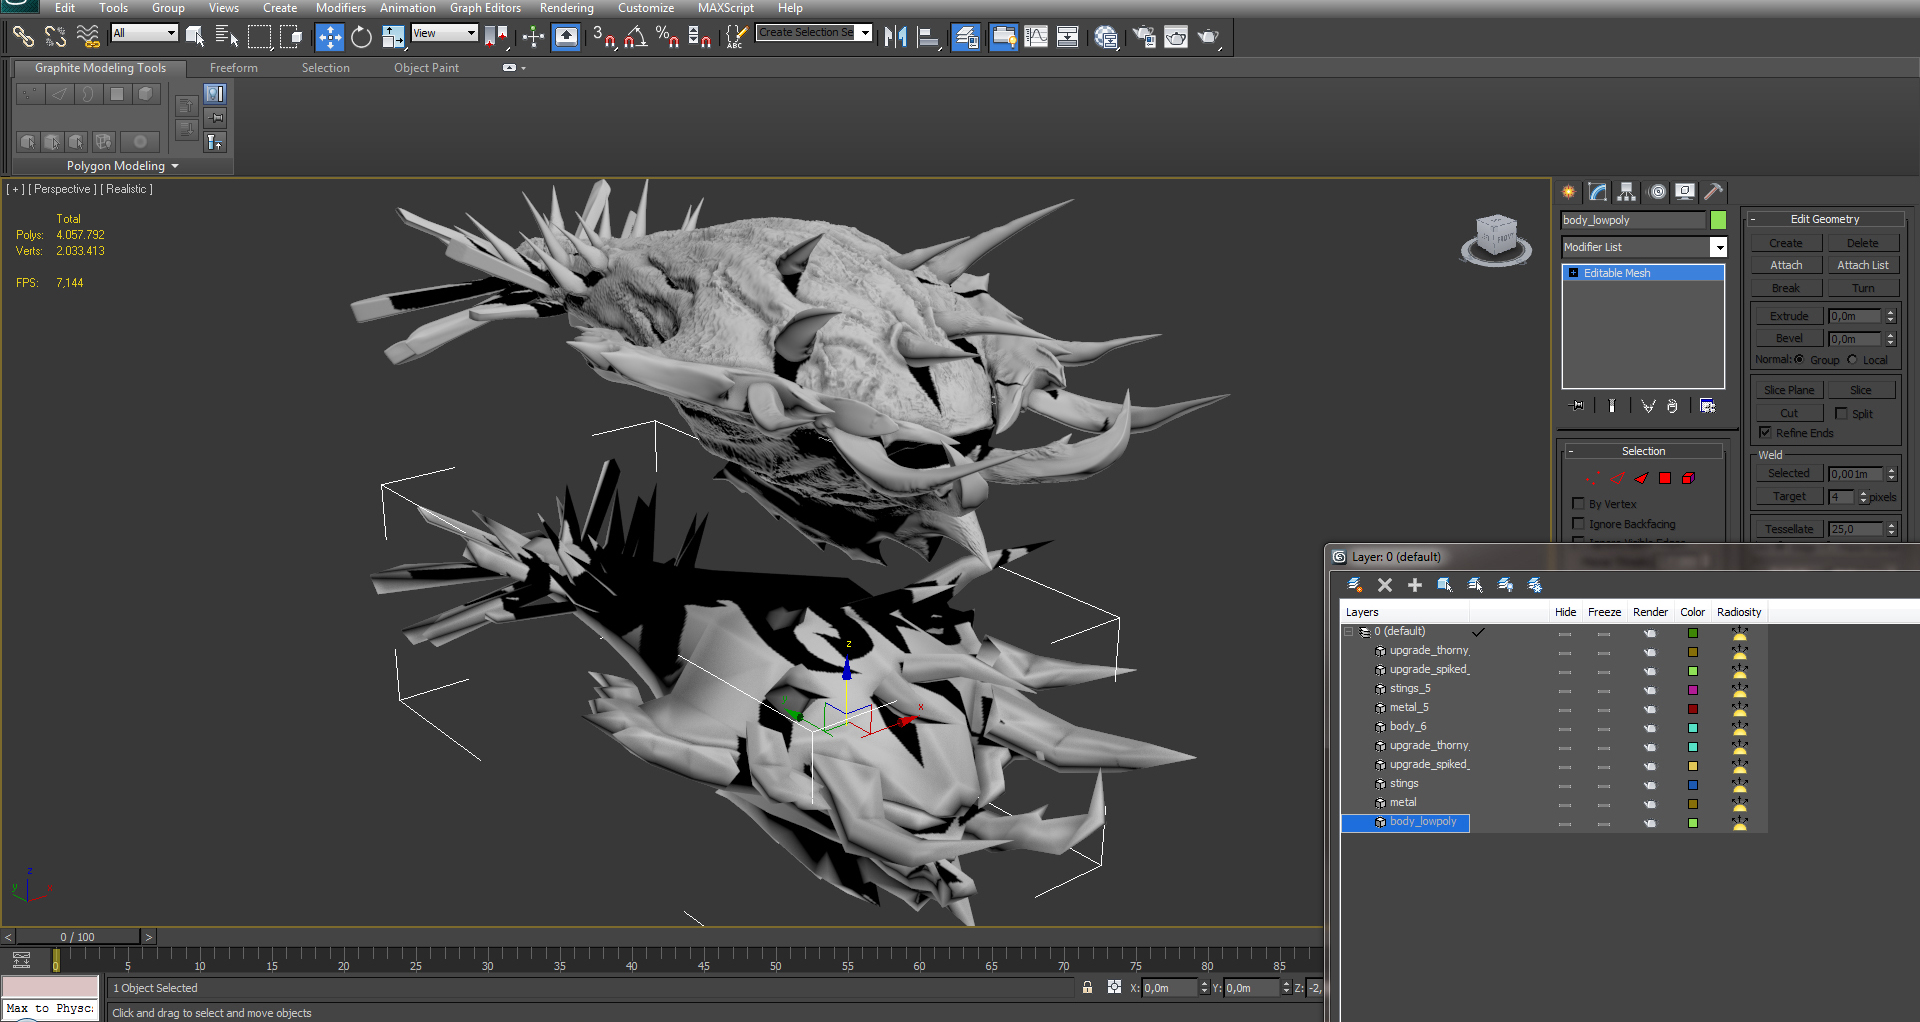
We check the mesh, fix the errors and compare it with the gamedesign guidelines.
We export the low poly mesh with some special adjustments to Unity 3D.
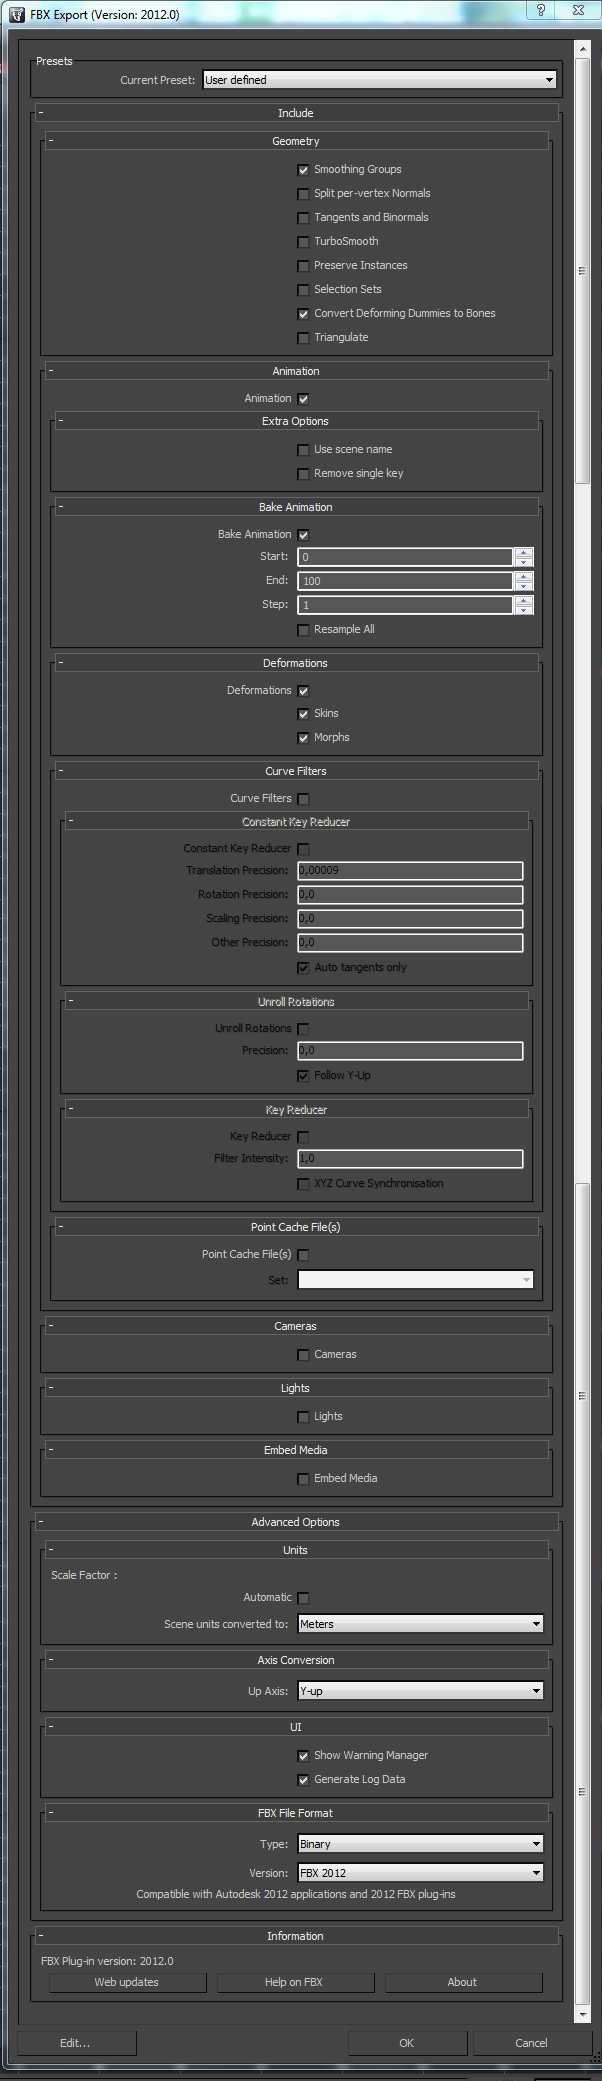
Now we commit the final file, the fbx file and the obj file to the SVN structure and the next artist is going to work at the maps.


Awesome article!
I have wondered about when the low poly model was created.
For some reason I thought the high poly was created first and then modified into a low poly, but your way makes a lot more sense.
You didn't talk about normals and the process of creating them for use in Unity.
I've read about smoothing groups and unfortunately Blender doesn't support them, so I'm at a disadvantage.
Thanks for the step-by-step screenshots. Very helpful.
Keep them coming!